
Downloading approved plans
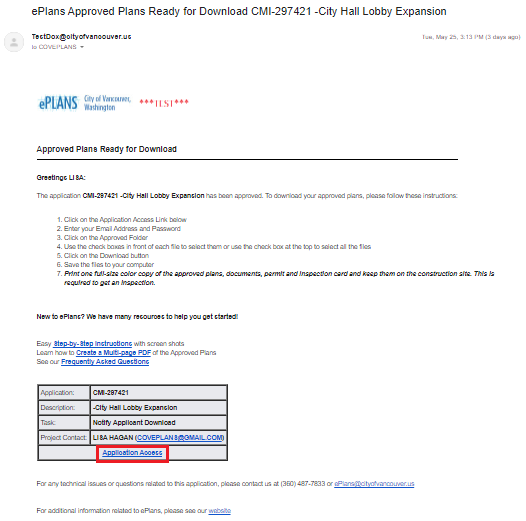
Once your application has been approved and all the fees paid, we’ll send you an email informing you that the approved plans are ready to download. Please print one color copy of all approved plans, documents, building permit and inspection card and keep them onsite for inspection purposes.
In ePlans, you have access to your submittal at any point in time. This means that if your plans get lost or destroyed, you can always access them again in ePlans and re-print them.
Download Approved Plans
Step 1: Click on the ‘Application Access’ link contained in the email notifying you that the Approved Plans are Ready for Download.
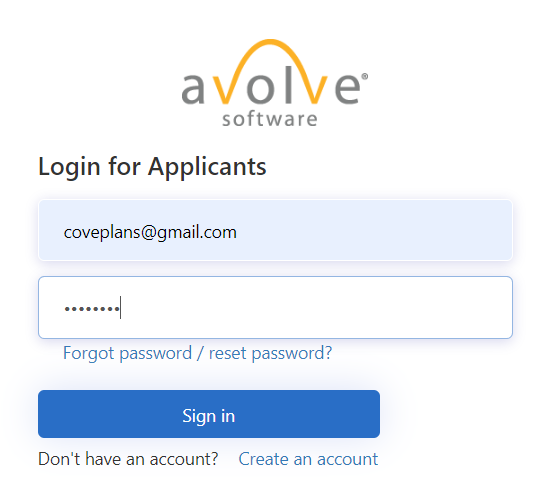
Step 2: This takes you to the ePlans Login screen. Enter your email address and password and click ‘Sign in’.
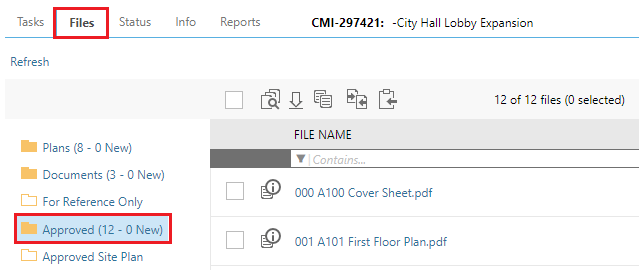
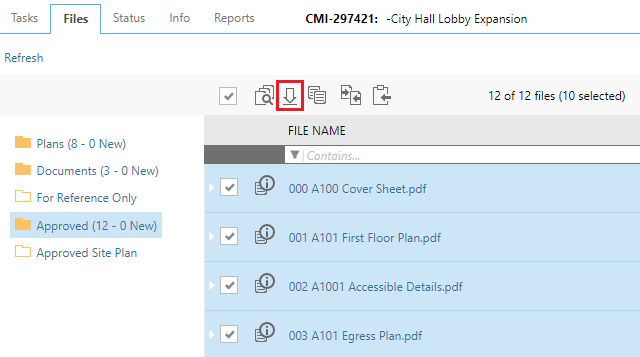
Step 3: This will open your permit in ePlans. Click on the Files tab and then the Approved folder.
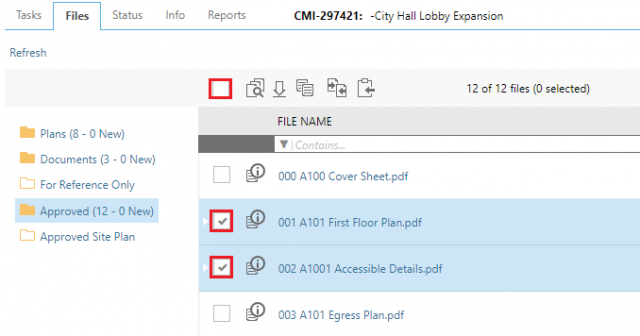
Step 4: Use the check boxes in front of each file to select the files or use the check box at the top to select every file in the Approved folder.
Step 5: With the files selected using the checkboxes, click on the download arrow at the top of the list.
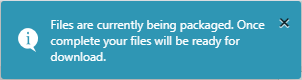
Step 6: A confirmation message comes up saying the files are being packaged.
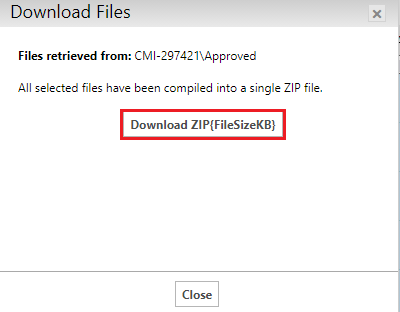
Step 7: In the center of your screen you’ll see Download Files window. Click on ‘Download ZIP’.
Step 8: A dialog box should display in the bottom left hand corner of your screen as it downloads the ZIP file. It will either open automatically or if it does not, you may need to click on the downward arrow and select ‘Show in folder’.
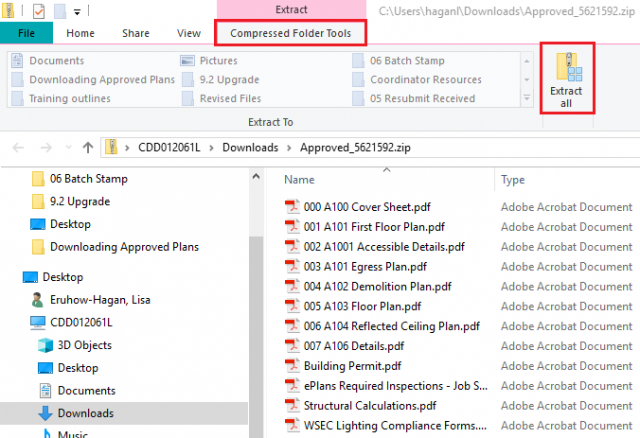
Step 9: This opens a new window that will show your approved zip folder. Select ‘Compressed Folder Tools’ and then ‘Extract all’.
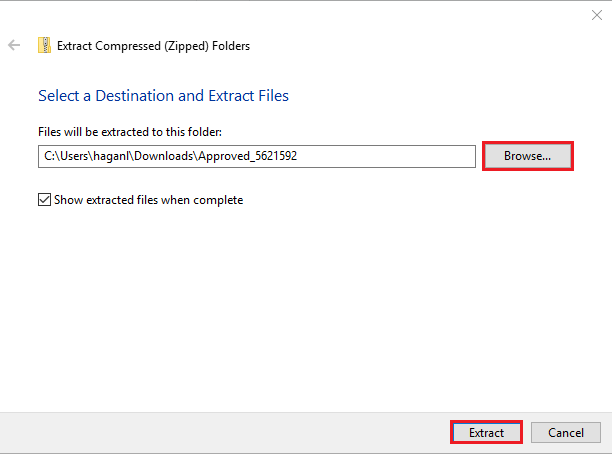
Step 10: This opens a new window that allows you to select where you’d like to save the approved files to. Please click ‘Browse’ and select where you’d like to store these files and click ‘Extract’.
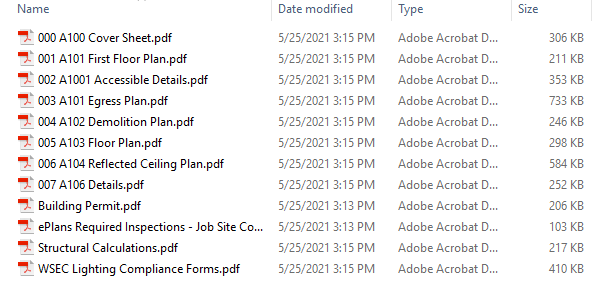
Step 11: It will show you the approved files in the location you selected. You can now print them for the field. One color copy of the approved plans, documents, permit and inspection card must be on site for inspection purposes. Since these files are now saved on your computer, you can access them at any time in case any are misplaced or destroyed out in the field.
Making a Multi-page PDF of the Approved Plans
If you have Adobe Acrobat Standard or Pro you can combine the approved plan files into a multi-page PDF document. You are not able to do this if you only have Adobe Acrobat Reader.
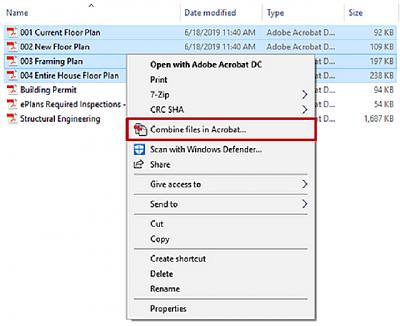
Step 1: Start by going to where you have the approved files on your computer and select all the plan pages by using the shift or control key. With all the files selected, right click and select ‘Combine files in Acrobat’.
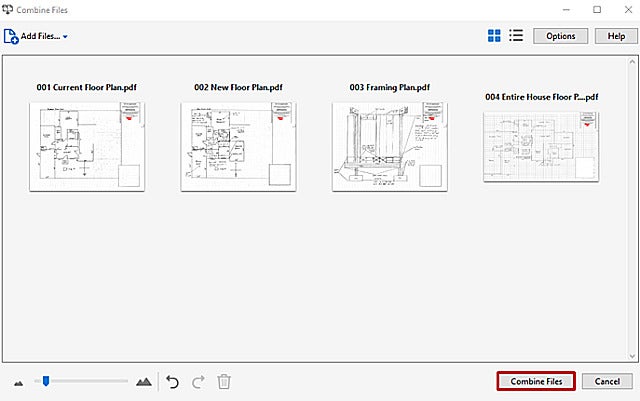
Step 2: A new window opens that shows you the order it will place the pages in. Since your file names all start with a number 001, 002, 003, etc. they will display in the correct order. Click on ‘Combine Files’.
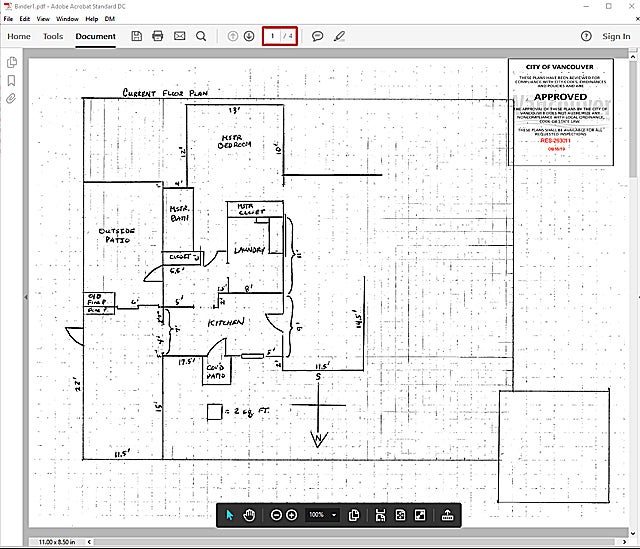
Step 3: Adobe will now open the multi-page PDF document you created from the approved plans. You can save it on your computer, print it or send it to a third party.
If you have any questions, please contact us so we can help.