
Prescreen correction task
After you have completed your initial upload task, we will do a cursory review to ensure that your submittal includes a minimum of information needed for our Reviewers to start work. If they find that you are missing information or that there is a part of your submittal that needs attention, we will send your submittal back to you for corrections. That is called the ‘Prescreen Corrections Task’.
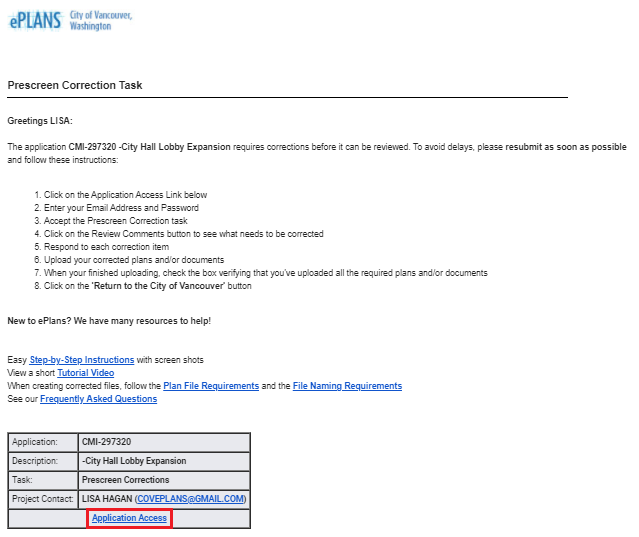
If corrections are needed, you will receive an email informing you that a task is available.
Step 1: Click on the ‘Application Access’ link in the email and login to ePlans.
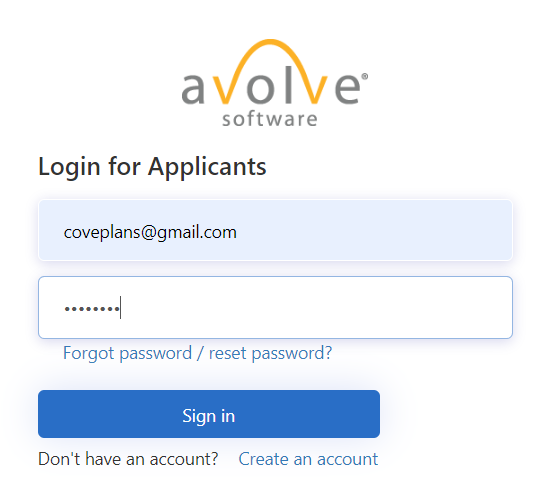
Step 2: Enter your email address and password and click ‘Sign in’.
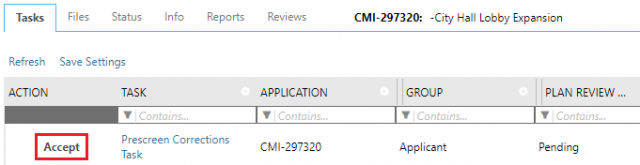
Step 3: Click on the ‘Accept’ button next to the ‘Prescreen Corrections Task’ in the Tasks tab.
Viewing/Responding to Correction Items
After you accept your Prescreen Correction Task, select the ‘Review Comments’ button as shown below.
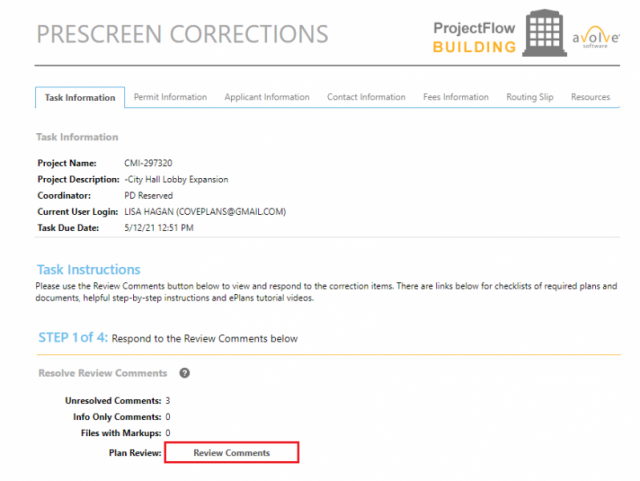
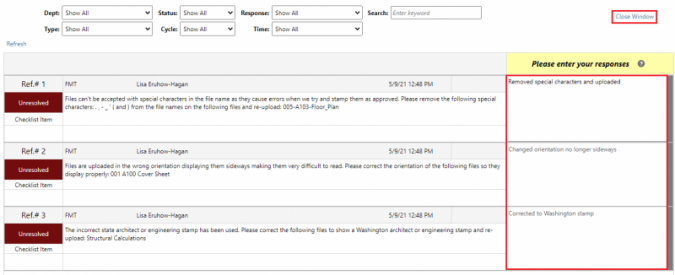
Selecting this button will open the eForm and will show you what items require attention. Please respond to each item in the Applicant Response column, by clicking in each box available and entering text. When you’re finished responding click the ‘Close Window’ link in the upper right hand corner. It will automatically save anything you typed.
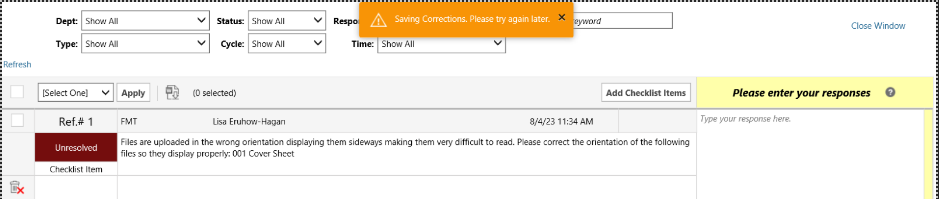
If you receive an error message saying ‘Saving Corrections. Please try again later.’ simply click anywhere outside that field and then you can close the window and it will save everything you typed.
Uploading Corrected or Missing Files
Be sure and follow the File Naming Standards and Plan File Requirements when uploading files or they will be returned to you to correct.
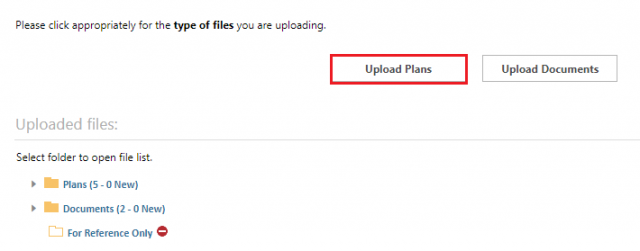
Select Plans or Documents: Click on the appropriate button to Upload Plans or to Upload Documents.
Browse for Files: Click on the ‘Browse For Files’ button to select the files you want to upload.

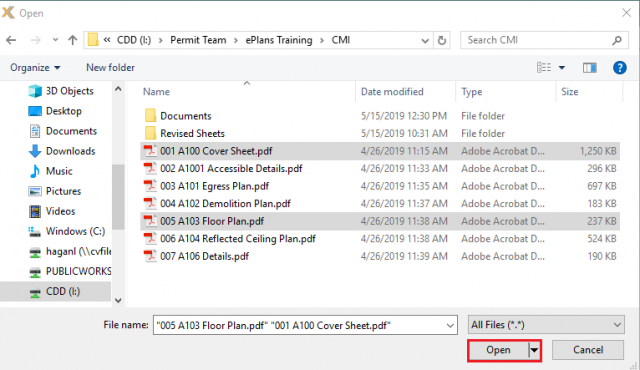
Select the Files: Select the files to upload from your computer. Multiple files can be selected by using your Shift or Ctrl keys. Click the ‘Open’ button shown in the image below to select those files to upload.
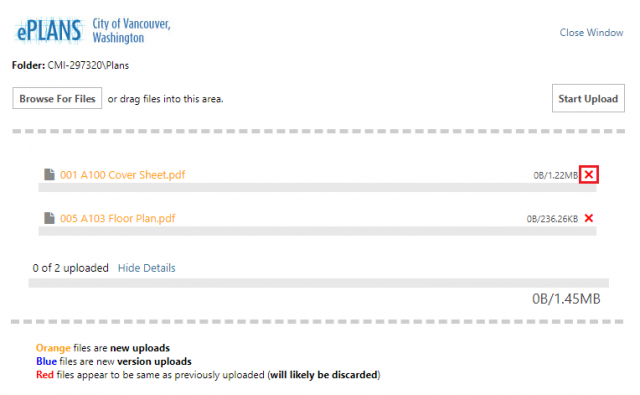
Reviewing/Deleting Files: The window now shows you the files you selected. You can click on the X to the right to remove any files you selected. This is your one opportunity to remove a file so be sure and scroll up and down and verify you have the correct files selected and remove any you don’t want uploaded.
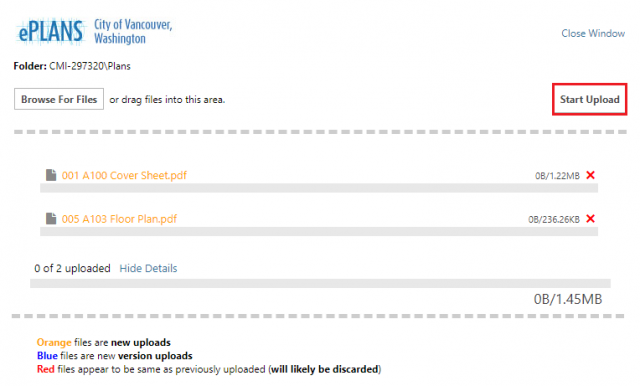
Start Upload: Once you’ve verified you have the correct files, click on the ‘Start Upload’ button.
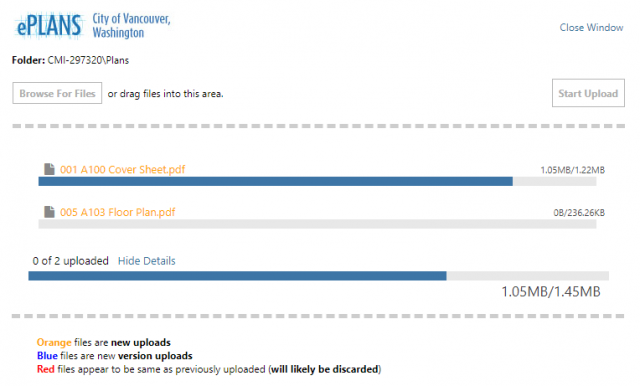
You’ll see the status bar update as it uploads each file:
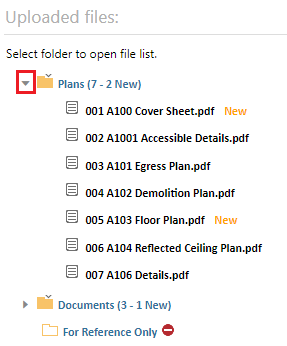
Viewing Files: You can now see the files that are uploaded to the folder you selected by clicking on the expand button.
You can scroll up and continue to use the ‘Upload Plans’ or ‘Upload documents’ buttons to upload more files. If you want to return and finish your upload later, please see the instructions below on how to sign off your task as ‘Save for Later’ so it will save everything you’ve done up to this point.
Signing off your Task
Save for Later: Selecting this button will not send your application to the City, but it will be saved so you can continue to respond to the review comments and continue to upload plans and documents.
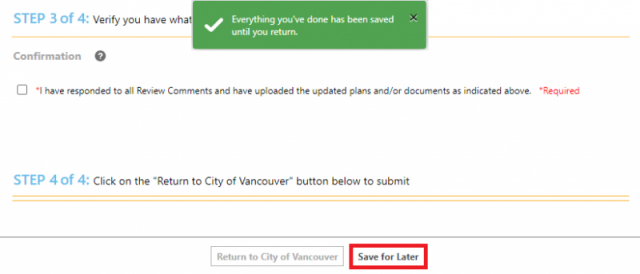
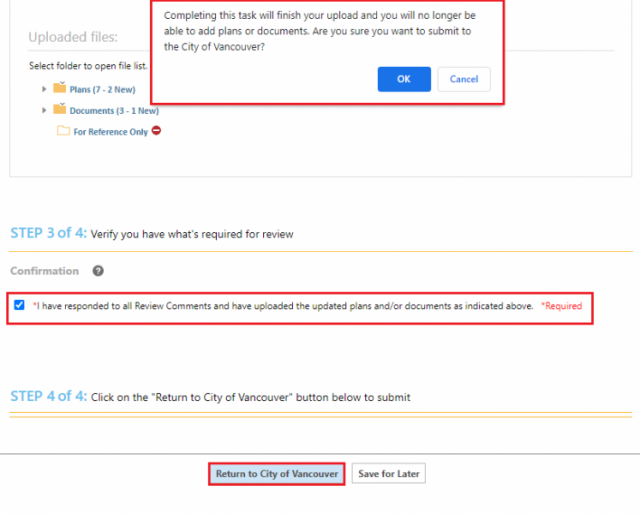
Return to City of Vancouver: Selecting this button will complete your task and you will no longer be able to upload files or respond to the review comments. When you are finished, check the box indicating that you have responded to all the review comments and have loaded the corrected plans and/or documents. Click on the ‘Return to City of Vancouver’ button.
A message comes up confirming we’ve received your upload.
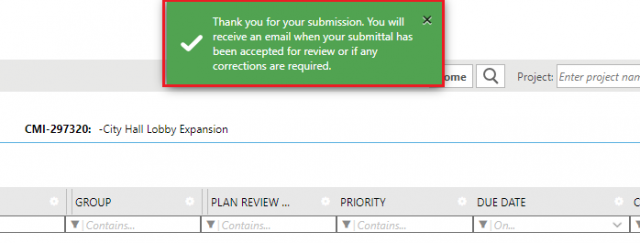
Please note that if you have not clicked on the ‘Return to City of Vancouver’ button, the City has not received your submittal.
If you have any questions, please contact us so we can help.